How to Clean Lint From Hairbrush for 2026: Complete Guide
There's something deeply satisfying about a clean hairbrush. And something deeply gross about a lint-caked one you've been using for weeks without thinking about it.
If you've ever pulled a clump of hair and gray fuzz from your brush and wondered how to clean lint from a hairbrush properly, you're not alone. Lint, dead hair, oil, and product gunk build up fast, and a dirty brush doesn't just look bad. It redistributes all that buildup back onto your clean hair and can irritate your scalp.
The good news is that cleaning takes about five minutes and costs nothing if you've got a comb and some dish soap at home.
Dermatologists generally recommend cleaning your hairbrush at least once a week if you use it daily. Brushes used with heavy styling products may need it even more often. Let's walk through exactly how to do it, step by step, and cover the variations depending on what kind of brush you own.
Quick Answer: The Fastest Way to Clean Lint From a Hairbrush
Pull all loose hair out with your fingers or a comb. Soak the brush in warm water with a few drops of dish soap for 10 to 15 minutes. Scrub between the bristles with an old toothbrush.
Rinse under running water and let it air-dry bristle-side down. That's the full process in under 20 minutes.
What's Actually Stuck in Your Brush: Lint, Hair, and Buildup Explained
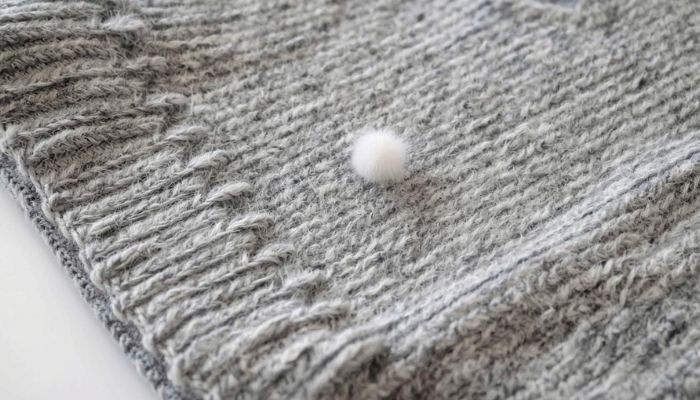
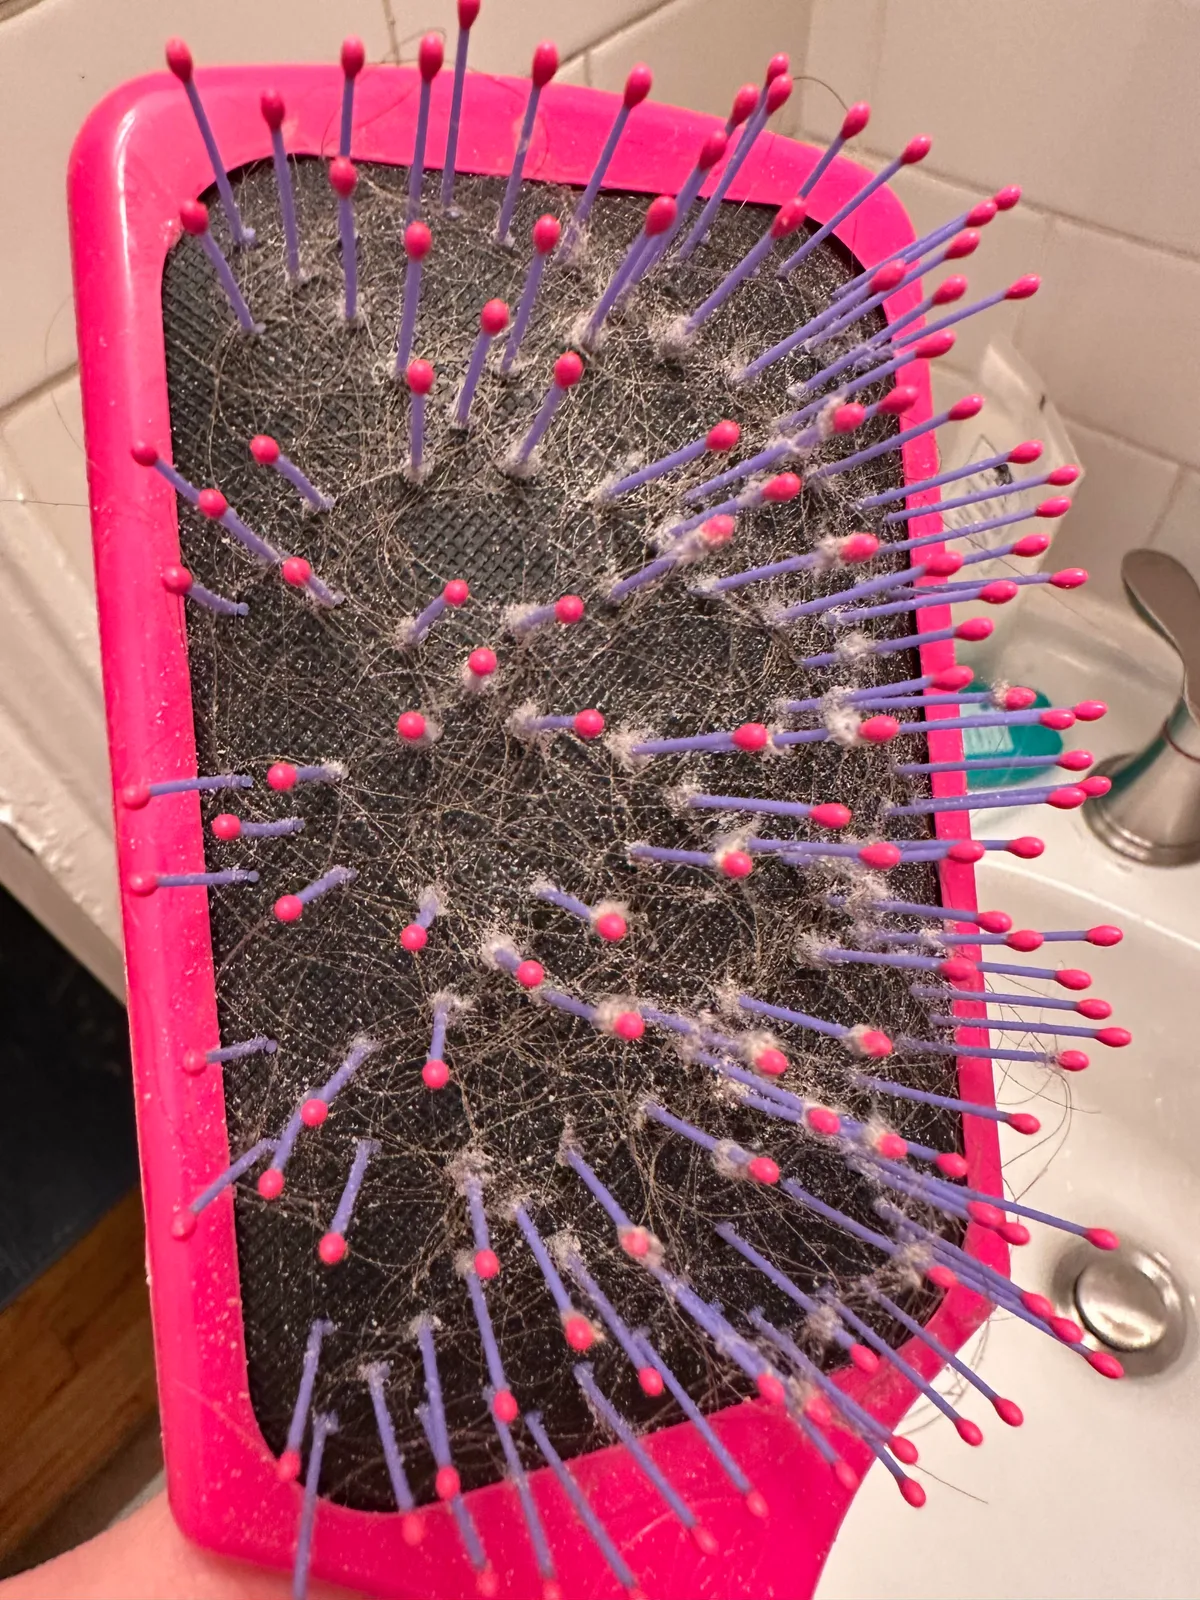
When we say "lint" in a hairbrush, we're usually talking about a mix of things. It's not just fabric fuzz. It's shed hair, dead skin cells, sebum (your scalp's natural oil), and residue from hairspray, dry shampoo, conditioner, or styling cream.
Over time, that combo forms a grayish, felt-like mat nestled right at the base of the bristles.
If you've got long or thick hair, the hair component dominates. You'll see tangled clumps wrapped around bristle clusters. If you use a lot of product, the buildup feels sticky or waxy.
And if you store your brush in a humid bathroom, you might even notice a musty smell, which signals mildew starting to form in the cushion or base.
Understanding what you're dealing with matters because it affects your cleaning method. A brush with mostly loose hair needs a different first step than one caked with oily residue. And if mold is involved, you'll want a sanitizing step, not just a rinse.
How to Clean Lint From a Hairbrush: Step-by-Step Process
Here's the full method that works for most standard brushes. We'll cover brush-specific variations in the next section.
Step 1: Remove All Loose Hair First
Before you reach for water, pull out every strand of hair you can see. Use your fingers for the big clumps. For hair wound tightly around bristles, slide a rat-tail comb or the end of a comb under the mass and lift it free.
This step matters more than people think. If you skip it and go straight to soaking, the hair just gets soggy and harder to remove. Dry extraction is always faster.
Step 2: Use a Comb to Lift Lint Between Bristles
Once the big hair is out, take a fine-tooth comb and run it between each row of bristles. You'll see gray fuzz and debris start to lift out. Work from the base of the bristles upward.
A metal comb works best here because it's thin and stiff enough to get deep between tight bristle rows. Plastic combs can flex and miss the packed-in lint at the bottom.
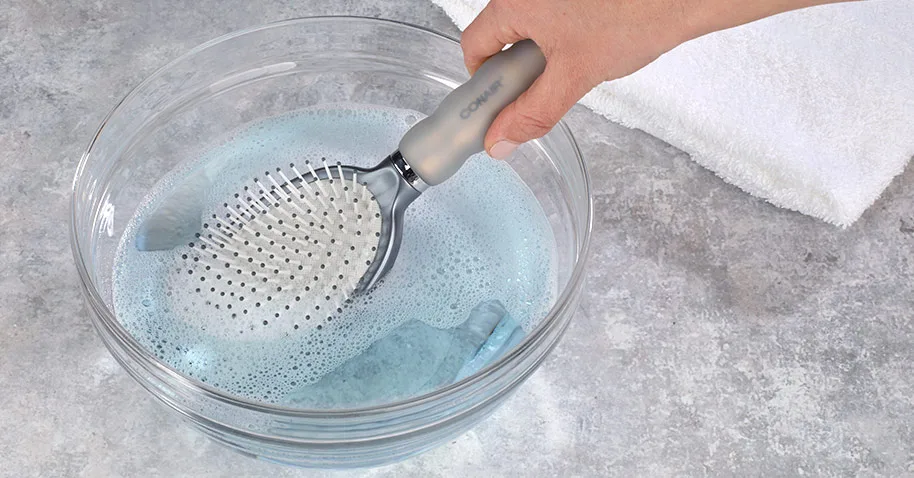
Step 3: Soak in Warm Soapy Water
Fill a bowl or sink basin with warm water. Add a few drops of mild dish soap or shampoo. Submerge the brush completely and let it soak for 10 to 15 minutes.
The warm water loosens oil and product residue. The soap breaks down sebum and styling product buildup. Don't use boiling water, which can warp plastic bristles or loosen adhesive in the brush head.
Step 4: Scrub With an Old Toothbrush or Cleaning Tool
After soaking, take an old toothbrush and scrub between the bristle rows. Focus on the base where lint accumulates most. For stubborn spots, a clean mascara wand or a small detailing brush works well too.
If your brush has a cushion base, press down gently while scrubbing to expose the underside of the pad where debris hides. Don't press too hard or you risk tearing the cushion.
Step 5: Rinse and Dry Properly
Rinse the brush under warm running water to flush out loosened debris and soap. Shake off excess water and place the brush bristle-side down on a clean towel to air-dry.
Never put a hairbrush in the dryer or use a blow dryer on high heat. And don't store it away while still damp. Trapped moisture breeds mold, especially in cushion brushes where water gets trapped under the rubber base.
Let it dry completely, ideally overnight, before using it again.
How to Clean Different Types of Hairbrushes
Not all brushes can handle the same treatment. Here's how to adjust your approach based on what you're working with.
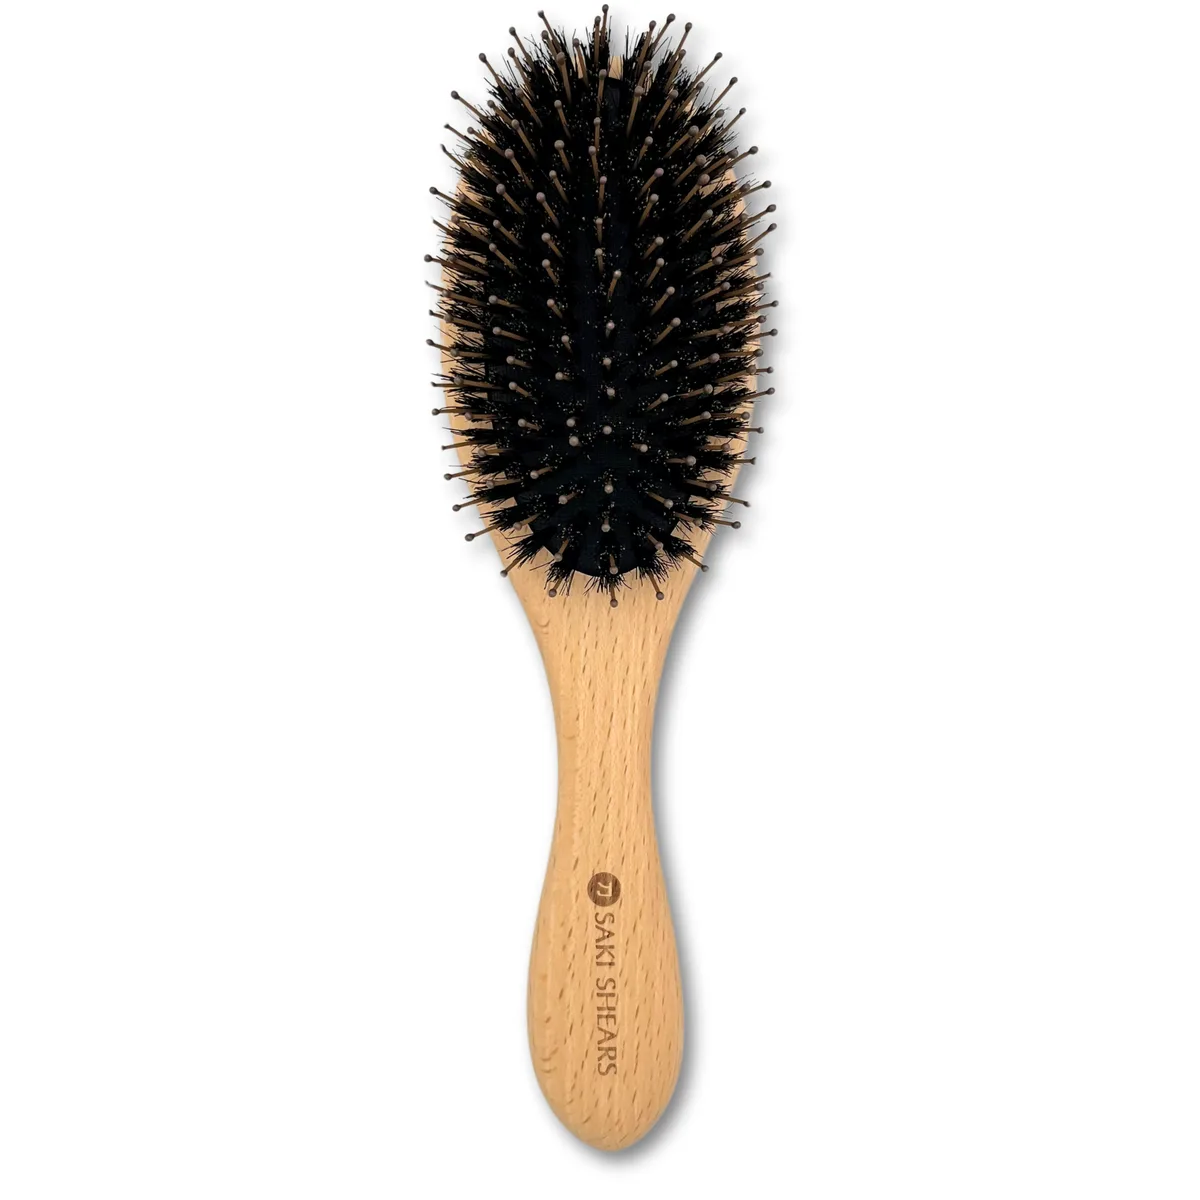
Cushion Brushes (Like Boar Bristle)
Cushion brushes have a flexible rubber pad that holds the bristles. Water can get trapped underneath, so don't soak these for extended periods. A quick five-minute soak is enough.
After cleaning, press the cushion gently to push out any water hiding underneath, then dry bristle-side down in a well-ventilated spot.
If you own a high-end boar bristle brush like a Mason Pearson, the manufacturer recommends cleaning with a comb and a mix of water and baking soda rather than submerging the entire brush. The natural bristles and wooden handle don't love prolonged water exposure.
Paddle Brushes
Paddle brushes are the easiest to clean. They have a flat, wide head with evenly spaced bristles, so there's plenty of room to work a comb or toothbrush between rows. These can handle a full soak without issue since most have solid bases rather than cushion pads.
Round Brushes and Vent Brushes
Round brushes are tricky because hair wraps tightly around the barrel. Use a seam ripper or the pointed end of a rat-tail comb to slice through the hair ring before pulling it off. For vent brushes, pay attention to the holes in the barrel where lint packs in.
A toothbrush or pipe cleaner works well for clearing those.
If you use a round brush with a heated core or metal barrel, avoid soaking the entire brush. Wipe it down with a damp soapy cloth instead.
Detangling Brushes (Wet Brush, Tangle Teezer)
Flexible detangling brushes are designed to be used in water, so they handle soaking well. The IntelliFlex bristles on a Wet Brush are specifically engineered to bend without breaking, which makes them easy to clean with just a comb and some soap. Tangle Teezer's compact design means lint doesn't have many places to hide, but the short bristles can trap fuzz at the base.
A quick scrub with a toothbrush takes care of it.
When to Use Soaking vs. Dry Cleaning Methods
Soaking is your go-to when the brush has oily buildup, product residue, or a noticeable smell. The warm water and soap combination dissolves what dry methods can't reach.
Dry cleaning works fine for quick maintenance between deep cleans. If you just used your brush and want to clear the hair and surface lint, a comb and a dry toothbrush do the job in under two minutes. This is the method to use weekly, with a full soak every two to four weeks depending on how much product you use.
Here's a quick reference:
| Method | Best For | Frequency | Time Needed |
|---|---|---|---|
| Comb and dry brush | Surface hair and lint | Weekly | 1 to 2 minutes |
| Warm soapy soak | Oil, product buildup, odor | Every 2 to 4 weeks | 15 to 20 minutes |
| Vinegar solution soak | Mildew, bacteria, deep sanitizing | Monthly or as needed | 20 to 30 minutes |
If you notice a musty smell or visible dark spots on the brush base, that's mold. In that case, skip the plain soap and add one part white vinegar to three parts warm water for your soak. Vinegar kills mold spores and neutralizes odors.
Rinse thoroughly afterward.
How Often You Should Actually Clean Your Hairbrush
The honest answer depends on your hair type and styling habits. But here's a practical baseline:
- Daily brush users with minimal product: Once a week for a quick comb-out, full soak every three to four weeks.
- Heavy product users (hairspray, dry shampoo, serums): Quick clean twice a week, full soak every two weeks.
- Curly or coily hair types: Weekly cleaning. These hair types shed less visibly but produce more scalp buildup that feeds lint accumulation.
- Professional stylists: After every client. This is a hygiene requirement, not a suggestion. Barbicide or a hospital-grade disinfectant is standard in salon settings.
If you're unsure whether it's time, run your finger across the base of the bristles. If you feel a fuzzy or sticky layer, clean it. Your scalp will thank you.
A dirty brush can contribute to scalp irritation and even folliculitis, which is inflammation of the hair follicles caused by bacteria pushed back into the skin during brushing.
Best Cleaning Solutions: Dish Soap, Shampoo, or Household Alternatives
You don't need a specialty product. Here's what works and when to use each:
- Dish soap: The best all-around choice. It cuts through oil and product residue without being harsh on bristles or brush materials. A few drops in warm water is all you need.
- Shampoo: A solid option, especially if your buildup is mostly natural oils. Use a clarifying shampoo for the best results.
- Baking soda paste: Mix baking soda with a small amount of water to form a paste. Apply it to the bristles and scrub. This works well for odor removal and gentle abrasion on stubborn spots.
- White vinegar solution: One part vinegar to three parts water. Best for sanitizing and killing mold. Don't use it on natural boar bristles regularly, as the acidity can dry them out over time.
- Rubbing alcohol: Dip a cotton pad in 70% isopropyl alcohol and wipe the bristles and base. Good for a quick disinfect between deep cleans. Let it air-dry completely before using.
Avoid bleach, acetone, or harsh household cleaners. These degrade plastic bristles, dissolve adhesives, and can leave chemical residue that irritates your scalp.
Tools That Make Cleaning Easier (And What You Already Have at Home)
You probably own everything you need right now. Here's the full toolkit:
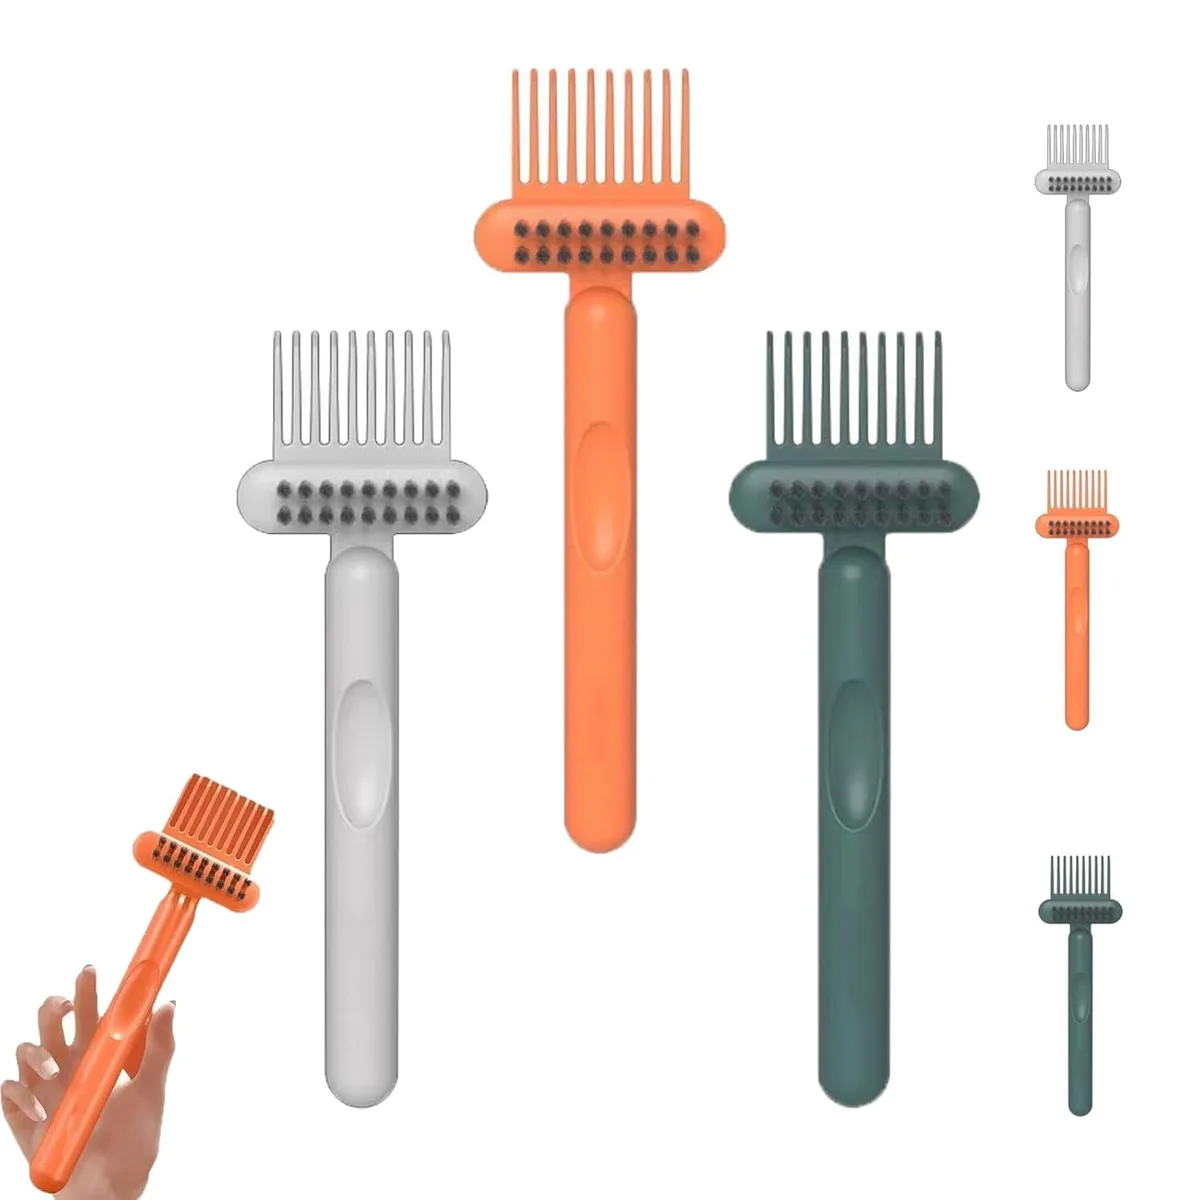
- Rat-tail comb or metal comb: For pulling hair and lifting lint between bristle rows. This is the single most useful tool for the job.
- Old toothbrush: For scrubbing between bristles and around the base. Designate one for brush cleaning and keep it in your bathroom drawer.
- Seam ripper or stitch picker: The sharp point slices through matted hair rings on round brushes. Much faster than pulling by hand.
- Pipe cleaners or clean mascara wands: Great for vent brushes and tight spaces where a toothbrush can't reach.
- Small bowl or container: For soaking. Something that fits the brush head without wasting water.
There are also dedicated brush cleaning tools on the market, like the Brush Hero or similar comb-and-scrubber hybrids. They work fine, but a basic metal comb and toothbrush do the same job for free.
Common Mistakes That Damage Your Brush or Leave Lint Behind
A few things people get wrong that shorten their brush's lifespan or make cleaning less effective:
- Skipping the dry hair removal. Soaking a brush full of hair turns it into a soggy mess. Always remove hair first.
- Using boiling water. It warps plastic bristles and can crack wooden handles. Warm water is plenty.
- Soaking cushion brushes too long. Water seeps under the rubber pad and can cause mold inside the brush head. Keep soaks short for these.
- Storing the brush while damp. Always let it dry completely, bristle-side down, in open air.
- Ignoring the base of the bristles. Lint packs hardest right where the bristles meet the base. That's where you need to focus your scrubbing.
- Using harsh chemicals. Bleach and strong solvents degrade materials and leave residue. Stick to mild soap and water.
If you've been brushing lint and buildup back into your hair every morning without realizing it, you might also want to check out our guide on what lint is and why it accumulates the way it does. Understanding the source helps you stay ahead of it.
How to Prevent Lint Buildup Between Cleanings
Cleaning your brush is easy. Keeping it clean longer is even easier. Here are a few habits that make a real difference:
- Remove hair after every use. It takes five seconds and prevents the deep-packed buildup that's harder to clean later.
- Store your brush in a dry place. A humid bathroom counter is the worst spot. A drawer or a shelf away from the shower keeps moisture and airborne lint away.
- Use less product near the roots. The closer you apply hairspray, dry shampoo, or oil to your scalp, the more ends up on your brush. Focus product on mid-lengths and ends.
- Keep a comb next to your brush. Make it part of your routine. Comb out the bristles, toss the hair in the trash, done.
- Wash your brush after heavy product days. If you've had a big styling day with lots of spray or gel, give your brush a quick clean that evening instead of waiting for your weekly schedule.
If lint on fabrics is a broader issue in your home, our guide on how to get rid of lint on blankets covers some useful strategies that apply to household textiles too.
Dermatologist Guidance on Brush Hygiene and Scalp Health
The American Academy of Dermatology notes that personal grooming tools, including hairbrushes, can harbor bacteria, yeast, and mold when not cleaned regularly. These microorganisms transfer to the scalp during brushing and can contribute to dandruff, scalp acne, and folliculitis.
If you're dealing with persistent scalp issues, a dirty brush might be part of the problem. Dermatologists recommend replacing your brush every six to twelve months with regular cleaning, or sooner if bristles are damaged or the cushion is deteriorating.
For anyone sharing brushes, which is common in families, cleaning between users is essential. A quick wipe with rubbing alcohol takes care of it.
Frequently Asked Questions
Can I put my hairbrush in the dishwasher?
You can, but it's not ideal. The high heat and strong detergent can warp plastic bristles and loosen adhesive. If you do, place it on the top rack and skip the heated dry cycle.
Hand cleaning gives you more control and is gentler on the brush.
How do I clean a wooden hairbrush?
Don't soak wooden brushes. Wipe the bristles with a damp cloth and mild soap, then dry immediately. For the bristles themselves, a comb and dry toothbrush work well.
Prolonged water exposure cracks wood and weakens the finish.
What if my brush smells bad even after cleaning?
A persistent smell usually means mold or bacteria has set into the cushion or base. Soak the brush in a solution of one part white vinegar to three parts warm water for 30 minutes. Scrub, rinse, and let it dry in direct sunlight if possible.
UV light helps kill remaining spores.
How do I remove lint from a hairbrush without water?
Use a dry comb to lift hair and lint from between bristles. Follow up with a dry toothbrush or clean mascara wand to dislodge packed fuzz. A lint roller rubbed across the bristle base can also pick up surface debris in a pinch.
Is it normal for my brush to collect lint so fast?
Yes, especially if you have long hair, use styling products, or dry your hair with a towel before brushing. Towel-dried hair sheds more and carries more lint. Brushing before washing, or at least after your hair is mostly dry, reduces how much ends up in the brush.
When should I replace my brush instead of cleaning it?
Replace it when bristles are bent, broken, or missing in clusters. If the cushion no longer springs back, or if the base has cracks that trap moisture, it's time for a new one. Even with perfect cleaning, most brushes last six to twelve months before performance drops noticeably.
Best Cleaning Solutions: Dish Soap, Shampoo, or Household Alternatives
Dish soap remains the top choice for most brush types. It cuts through oil without damaging plastic or natural bristles. A few drops in warm water handles the vast majority of everyday buildup.
Shampoo works well when the gunk is mostly natural scalp oils. A clarifying shampoo is especially effective because it's designed to strip residue. Baking soda mixed into a paste gives you gentle abrasion for stubborn spots at the bristle base.
White vinegar, diluted one part to three parts water, is your go-to for sanitizing. It kills mold spores and neutralizes odors. Just don't use it regularly on boar bristle brushes since the acidity can dry out natural fibers over time.
Skip bleach, acetone, and heavy solvents. They degrade plastic, dissolve glue, and can leave scalp-irritating residue.
Tools That Make Cleaning Easier (And What You Already Have at Home)
A rat-tail comb is the single most useful tool for this job. The thin metal tip slides between bristle rows and lifts packed-out lint fast. An old toothbrush handles the scrubbing once everything is loosened up.
For round brushes wrapped in hair, a seam ripper slices through the mat cleanly. Pipe cleaners or a clean mascara wand work well for vent brush holes where a toothbrush can't fit.
You don't need to buy anything special. Everything listed above is probably already in your bathroom drawer.
Common Mistakes That Damage Your Brush or Leave Lint Behind
Skipping the dry hair removal step is the biggest error people make. Soaking a hair-filled brush just creates a soggy mess. Pull the hair out first, always.
Boiling water warps plastic bristles and cracks wooden handles. Warm water does the job just fine. Storing a brush while it's still damp is another common mistake that leads to mold inside the cushion base.
Scrubbing too aggressively on cushion brushes tears the rubber pad. And ignoring the bristle base, where lint packs tightest, means your brush never really gets clean.
How to Prevent Lint Buildup Between Cleanings
Remove hair from the brush after every single use. It takes seconds and prevents the deep-packed buildup that turns into a bigger chore later.
Store your brush somewhere dry. A humid bathroom counter is the worst option. A drawer or open shelf away from the shower keeps both moisture and airborne lint off the bristles.
Using less product near your roots also helps. Hairspray and dry shampoo applied close to the scalp end up on the brush faster. Focus styling products on mid-lengths and ends instead.
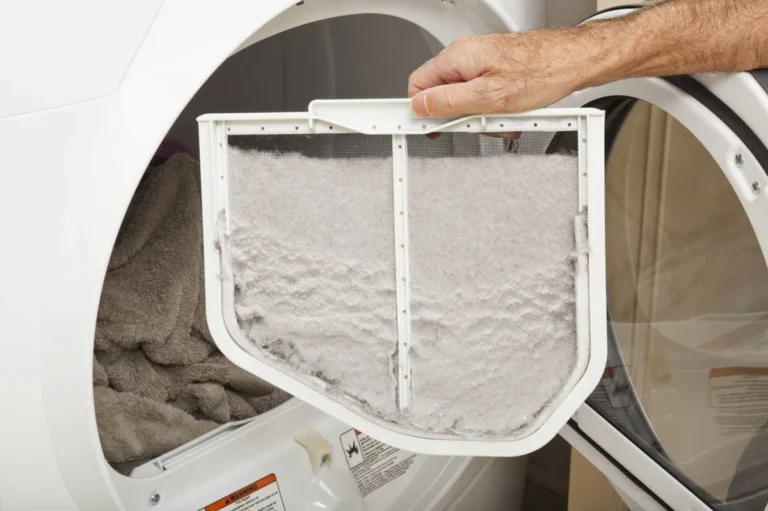
If lint accumulation is a recurring issue in your home overall, our guide on how to remove lint from clothes in the dryer covers some useful prevention strategies that apply beyond just hairbrushes.
Final Recommendation: Your Brush Cleaning Routine
Keep it simple. Comb out hair after every use. Do a full soap-and-water clean every two to four weeks depending on your product usage.
Sanitize with a vinegar soak if you notice any smell or mold.
Replace your brush every six to twelve months, or sooner if bristles are damaged. A clean brush performs better, lasts longer, and keeps your scalp healthier. That's the whole game.
Best Cleaning Solutions: Dish Soap, Shampoo, or Household Alternatives
Dish soap is the most reliable option for everyday brush cleaning. It breaks down oil and product residue without harming plastic or natural bristles. Warm water and a few drops is all you need.
Shampoo works well when buildup is mostly natural oils. A clarifying formula is best since it's designed to strip residue. Baking soda mixed into a paste adds gentle abrasion for stubborn spots at the bristle base.
White vinegar diluted one part to three parts water handles sanitizing and mold. Avoid using it regularly on boar bristle, though, since the acidity dries out natural fibers over time.
Tools That Make Cleaning Easier (And What You Already Have at Home)
A rat-tail comb is the most useful tool here. The thin metal tip slides between bristle rows and lifts packed lint fast. An old toothbrush handles scrubbing once things are loosened.
For round brushes wrapped in hair, a seam ripper cuts through the mat quickly. Pipe cleaners or a clean mascara wand work for vent brush holes where a toothbrush won't fit.
You probably own everything already. No need to buy specialty tools.
Common Mistakes That Damage Your Brush or Leave Lint Behind
Skipping dry hair removal is the most common error. Soaking a hair-filled brush just makes a mess. Always pull hair out first.
Boiling water warps plastic bristles and cracks wooden handles. Warm water works fine. Storing a brush while damp leads to mold inside the cushion base.
Scrubbing too hard on cushion brushes tears the rubber pad. And ignoring the bristle base, where lint packs tightest, means the brush never fully gets clean.
How to Prevent Lint Buildup Between Cleanings
Comb out hair after every use. It takes seconds and stops deep buildup from forming.
Store your brush in a dry spot, not on a humid bathroom counter. A drawer or open shelf away from the shower keeps moisture and airborne lint off the bristles.
Using less product near your roots helps too. Hairspray and dry shampoo close to the scalp transfer to the brush faster. Focus on mid-lengths and ends instead.
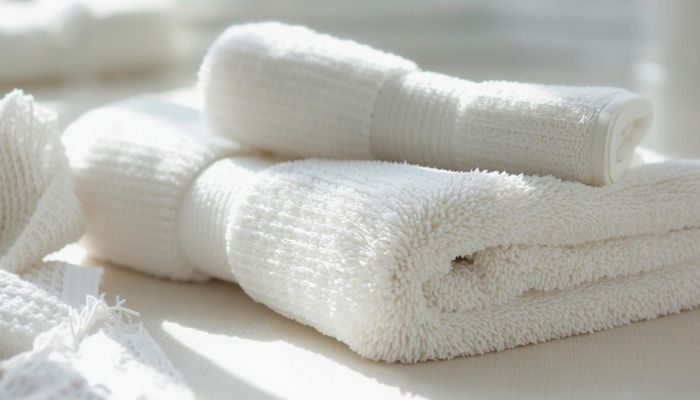
If lint is a broader issue around your home, our guide on how to get rid of towel lint covers prevention strategies that apply to household textiles as well.
Final Recommendation: Your Brush Cleaning Routine
Keep it straightforward. Comb out hair after each use. Do a full soap-and-water clean every two to four weeks.
Sanitize with a vinegar soak if you notice any odor or mold.
Replace your brush every six to twelve months, or sooner if bristles are damaged. A clean brush performs better, lasts longer, and keeps your scalp healthier. That's really all there is to it.