How to Remove Iron-on Patches and Labels From Clothing 2026
You've got a shirt with an old logo you don't want anymore, or maybe a scratchy care label that's driving you crazy. Either way, figuring out how to remove iron-on patches and labels from clothing without wrecking the fabric underneath is trickier than it sounds. The adhesive these things use is designed to survive regular washing, so pulling them off takes the right approach.
The good news is you've got three reliable methods to work with, and the one that works best depends on what your garment is made of and how stubborn the adhesive is. Most iron-on adhesives activate between 250 and 300°F (120, 150°C), which means they can be reactivated with heat or made brittle with cold. Let's walk through each option so you can pick the right one for your situation.
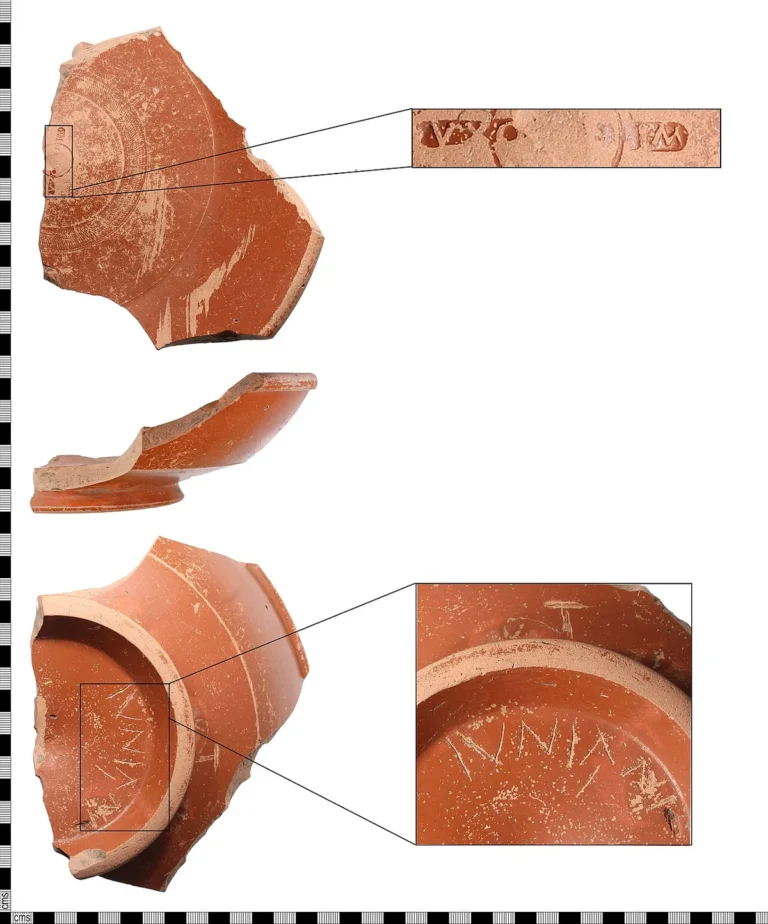
Image source: Wikimedia Commons / The Portable Antiquities Scheme, John Davey, 2007-01-08 14:51:45 (CC BY-SA)
Quick Answer
You can remove iron-on patches three ways. Use an iron and parchment paper for sturdy fabrics. Freeze the garment for delicate materials.
Apply adhesive remover for leftover residue. Always test your method on a hidden area first.
Why Iron-On Patches Are Stubborn (and Why the Method You Pick Matters)
Iron-on patches and heat-activated labels use thermoplastic adhesives, typically EVA (ethylene-vinyl acetate) or polyurethane-based compounds that bond to fabric fibers when heated. These adhesives are engineered to hold through repeated washing cycles at temperatures up to 140°F (60°C). That's exactly why yanking a patch off with your fingers usually doesn't work.
You either tear the patch and leave adhesive behind, or you pull the fabric fibers right along with it.
The removal method that works best depends on a few variables. Fabric type is the biggest one. Cotton and denim can handle heat that would melt nylon or destroy silk.
The age of the patch matters too. Fresh patches (under a year) tend to release more cleanly than ones that have been washed dozens of times, where the adhesive has fully cured into the weave. And the adhesive type itself plays a role.
Polyamide adhesives, common on higher-end heat transfer labels, require more heat to reactivate than standard EVA.
Here's the key takeaway: there's no single universal method. What works perfectly on a cotton t-shirt can ruin a polyester blouse. So before you grab anything, you need to identify what you're working with.
First, Check What You're Working With
Fabric type determines everything
Look at the care label on the garment (ironic, if that's the label you're trying to remove). The fabric composition tells you which methods are safe and which are off the table.
| Fabric | Heat Safe? | Freezer Safe? | Chemical Safe? | Notes |
|---|---|---|---|---|
| Cotton | Yes (high heat) | Yes | Yes | Most forgiving fabric for all three methods |
| Denim | Yes (high heat) | Yes | Yes | Sturdy enough for aggressive removal |
| Polyester | Low heat only (below 230°F/110°C) | Yes | Yes (test first) | Can melt or glaze under high heat |
| Nylon | No direct iron | Yes | Yes (test first) | Melts quickly under heat; use freezer or chemical |
| Silk | No | Yes | Test first | Very delicate; freezer method is safest |
| Wool | No direct iron | Yes | Test first | Can scorch or shrink; use pressing cloth if applying heat |
| Rayon | No | Yes | Test first | Weakens when wet; handle gently |
| Spandex/Lycra | No | Yes | Test first | Heat destroys elastic fibers instantly |
| Acetate | No | Yes | No (acetone dissolves it) | Freezer only; avoid all chemical removers |
If the garment is a blend, default to the most delicate fiber in the mix. A 60/40 cotton-polyester blend should be treated more carefully than pure cotton.
Identifying the adhesive type
Not all iron-on patches use the same glue. Here's how to tell what you're dealing with.
- Paper-film backing: You can see a thin translucent film on the front of the patch before removal. This is common on embroidered iron-on patches. Heat method works well here.
- Direct-glue backing: The patch feels rubbery or sticky on the back with no separate film. These are often heat transfer labels. They respond well to both heat and freezing.
- Clear plastic film: Some patches have a clear carrier sheet, similar to heat transfer vinyl. Peel this off after cooling, then treat any residue.
If you can't tell the type, start with the freezer method. It's the lowest-risk approach and won't damage any fabric.
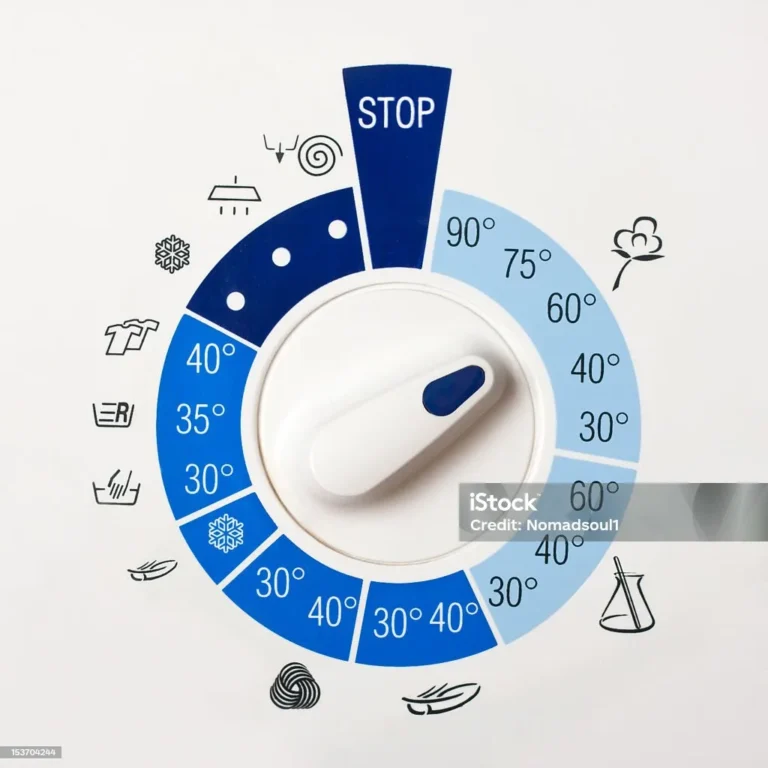
Method 1: Heat (Iron) — Best for Sturdy Fabrics and Most Iron-On Patches
This is the go-to method for cotton, denim, and other heat-tolerant fabrics. The idea is simple: you reactivate the adhesive with controlled heat so the patch releases cleanly.
Image source: Bing (Web (fair-use with source credit))
What you need
- Household clothes iron (steam setting optional)
- Parchment paper or a clean cotton pressing cloth
- Tweezers or a dull butter knife
- A flat, heat-resistant surface (ironing board works fine)
Step-by-step heat removal
- Lay the garment flat on your ironing board with the patch facing up.
- Place a sheet of parchment paper directly over the patch. Don't skip this. The parchment prevents adhesive from transferring to your iron and gives you even heat distribution.
- Set your iron to the appropriate temperature. For cotton and denim, use a high heat setting (around 300°F/150°C). For polyester blends, keep it medium (around 230°F/110°C). Turn off the steam if your iron has that option. Dry heat works better for this.
- Press the iron onto the parchment over the patch. Hold it steady for 30 to 60 seconds. You're not ironing back and forth. You're applying firm, stationary heat.
- Lift the iron and parchment carefully. Use your tweezers or dull knife to lift one corner of the patch. If it peels away easily with light pressure, keep going. If the adhesive hasn't softened, reapply heat for another 15 to 20 seconds.
- Peel the patch at a low angle. Pull it back on itself slowly, keeping the peel angle as close to the fabric as possible. A 180-degree peel (straight up) pulls harder on the fabric. A low, flat peel separates the adhesive from the fibers more cleanly.
- Deal with any residue. If adhesive remains on the fabric, don't try to iron it deeper in. Move to the chemical removal method below for the leftover glue.
When heat works well
Heat removal is ideal when the fabric can handle temperatures above 250°F (120°C) without damage. It's fastest on cotton, canvas, and denim. Patches that are less than a year old tend to release more cleanly because the adhesive hasn't fully cured through repeated washing.
When to skip this method entirely
Don't use heat on silk, wool, nylon, spandex, acetate, or any fabric labeled "do not iron." Also avoid heat if the garment has printed graphics near the patch that could melt or distort. And if the patch has been on the garment for several years and has been washed hundreds of times, the adhesive may have bonded too deeply for heat alone to work. In that case, combine heat with a chemical remover for the residue.
Method 2: Cold (Freezer) — Best for Delicate Fabrics and Brittle Adhesives
Freezing makes most thermoplastic adhesives brittle. Once the glue is cold enough, it loses its flexibility and can be cracked or peeled away without heat. This is your safest option for delicate fabrics.
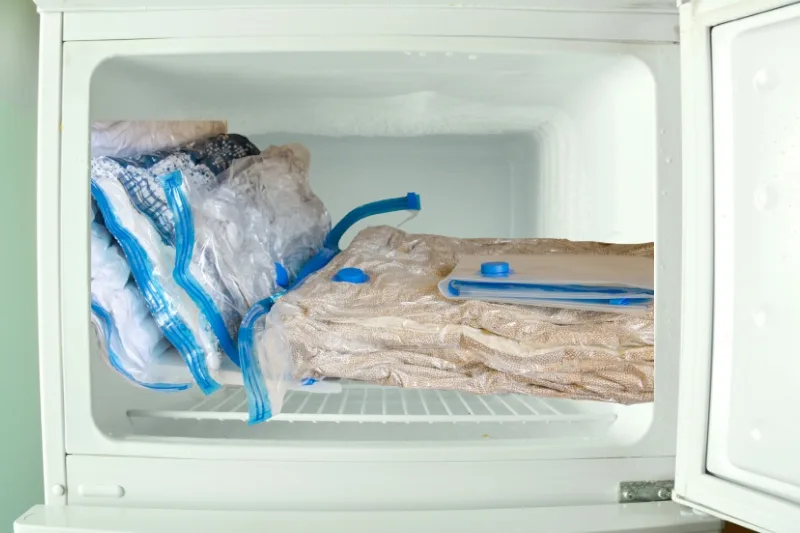
Image source: Bing (Web (fair-use with source credit))
What you need
- A sealable freezer bag (gallon-size works for most garments)
- A freezer set to 0°F (-18°C) or below
- A dull knife, credit card edge, or your fingernail
Step-by-step freezer removal
- Place the garment in the freezer bag. Seal it mostly, leaving a small opening. You want to minimize moisture exposure, not create a vacuum.
- Put it in the freezer. Leave it for at least 1 to 2 hours. For thicker patches or older adhesive, overnight (8+ hours) gives better results.
- Remove the garment from the bag immediately. Work quickly before the adhesive warms up and becomes pliable again.
- Try to lift an edge with your fingernail or a dull knife. The adhesive should feel stiff and may even crack or flake when you press on it.
- Peel or scrape gently. If the adhesive is brittle enough, it will release in chunks. Don't force it. If it's still flexible after 2 hours, put it back in the freezer for another cycle.
- Treat any remaining residue with the chemical method below.
Why freezing works
Thermoplastic adhesives become glass-like at temperatures below freezing. The molecular structure stiffens and loses its grip on fabric fibers. This is the same principle behind how some industrial label removal processes work, just at a smaller scale.
EVA-based adhesives respond particularly well to freezing because they have a relatively low glass transition temperature.
When to use this instead of heat
Choose the freezer method whenever the fabric can't handle heat. Silk, wool, nylon, and spandex are all off-limits for iron-based removal. The freezer method is also a good first attempt when you're unsure what type of adhesive you're dealing with, since it carries almost zero risk of damaging the garment.
The tradeoff is speed. It takes hours instead of minutes, and it doesn't always remove every trace of adhesive. You'll likely need to follow up with a chemical remover for the leftover stickiness.
Method 3: Chemical Adhesive Removers — Best for Stubborn Residue and Leftover Glue
Heat and freezing handle the bulk of the patch. But adhesive residue is where chemical removers earn their keep. This is the cleanup step that gets fabric looking clean again.
Image source: Bing (Web (fair-use with source credit))
What works and what doesn't
Not all adhesive removers are created equal, and some will damage fabric. Here's a breakdown of what's available.
| Remover | Best For | Fabric Caution | Approximate Cost |
|---|---|---|---|
| Citrus-based remover (e.g., Goo Gone) | Light to medium residue | Generally safe on most washable fabrics | $4–$8 per bottle |
| Rubbing alcohol (isopropyl 70%) | Light residue, fresh adhesive | Can fade some dyes; test first | $1–$3 |
| WD-40 | Heavy, cured residue | Can stain fabric; must wash thoroughly after | $4–$6 |
| Acetone (nail polish remover) | Very stubborn residue | Dissolves acetate, triacetate, and some synthetics | $2–$5 |
| White vinegar | Light residue, eco-friendly option | Safe on most fabrics; mild odor | $1–$3 |
| Cooking oil or peanut butter | DIY option for light residue | Safe but can leave grease stains; wash after | Household item |
Acetone is the most aggressive option. It dissolves many types of adhesive, but it will also dissolve acetate fabrics and can damage rayon and some polyesters. Never use it without testing on a hidden seam first.
Step-by-step chemical removal
- Test on a hidden area. Apply a small amount of your chosen remover to an inside seam or hem. Wait 5 minutes. Check for color bleeding, discoloration, or fabric damage.
- Apply the remover to the residue. Use a cotton ball, soft cloth, or old toothbrush depending on the size of the area. Saturate the sticky spot. Don't just dab it. The adhesive needs to soak.
- Let it sit for 5 to 10 minutes. This dwell time matters. The solvent needs time to break down the adhesive bond. Don't let it dry out. If it starts to evaporate, add a bit more.
- Blot and gently rub. Use a clean cloth to blot the dissolved adhesive. For thicker residue, gently rub with a soft-bristled toothbrush in a circular motion. Don't scrub hard. You're lifting the adhesive, not grinding it in.
- Rinse the area. Wash the garment according to its care label. For delicate fabrics, rinse the treated area with warm water by hand before machine washing.
- Repeat if needed. Heavy residue may require two or three applications. Be patient. Rushing leads to fabric damage.
Testing first (don't skip this)
Aggregate user feedback consistently shows that the most common mistake people make with adhesive removers is skipping the fabric test. A remover that works perfectly on cotton can bleach a colored polyester or leave a permanent stain on silk. Five minutes of testing saves you from ruining a garment.
Side-by-Side: Which Method Should You Use?
Here's a quick decision guide based on what you're working with.
| Situation | Recommended Method | Why |
|---|---|---|
| Cotton t-shirt with a recent iron-on patch | Heat (iron) | Fast, clean, minimal residue |
| Delicate silk blouse with a label | Freezer | Zero heat risk, safe for fragile fibers |
| Old denim jacket with a years-old patch | Heat + chemical | Adhesive is deeply cured; need both |
| Polyester work shirt with a logo | Freezer or chemical | Heat can glaze or melt polyester |
| Scratchy care label on a cotton shirt | Heat (iron) | Labels are thin and release quickly with heat |
| Nylon jacket with a patch | Freezer | Heat will damage nylon instantly |
| Leftover sticky residue after patch removal | Chemical remover | Heat won't help with residue alone |
| Vintage or heirloom garment | Professional removal | Too risky to DIY on valuable items |
Common Mistakes That Ruin Garments
These are the errors that show up most often in user reports and textile care forums. Avoiding them will save you a lot of frustration.
- Using too much heat on synthetic fabrics. Polyton can glaze or melt at temperatures above 230°F (110°C). Nylon is even less forgiving. Always check the fabric first.
- Skipping the parchment paper. Adhesive that transfers to your iron is nearly impossible to clean off and will ruin future ironing jobs.
- Pulling the patch too fast. Ripping a patch off at high speed pulls fabric fibers with it, causing pilling or holes. Slow, steady, low-angle peeling is the way.
- Using acetone on the wrong fabric. Acetate, triacetate, and some rayon blends will dissolve on contact with acetone. Always check the fabric composition.
- Not washing the garment after chemical removal. Residue from adhesive removers can attract dirt or cause skin irritation if not fully washed out.
- Applying heat for too long. More than 60 seconds of continuous heat on a patch can cause the adhesive to bond even deeper into the fabric instead of releasing. Work in short intervals.
- Scrubbing residue aggressively. Rubbing sticky residue with a rough cloth or brush pushes it deeper into the weave. Let the chemical do the work, then blot gently.
Real Scenarios: What to Do in Specific Situations
Removing a name tag from a child's school shirt
School name tags are typically heat transfer labels on cotton or cotton-blend shirts. Use the heat method. Set your iron to cotton setting, place parchment over the label, press for 30 seconds, and peel.
Any remaining sticky residue comes off with a bit of rubbing alcohol or a citrus-based remover.
Removing a logo from a thrift store jacket
Thrift store logos vary widely. Check the fabric first. If it's a cotton or denim jacket, use heat.
If it's polyester or a blend, start with the freezer method. Older logos that have been washed many times often leave more residue, so plan on following up with a chemical remover.
Removing a heat transfer graphic from a cotton t-shirt
Heat transfer graphics use a vinyl or film backing. Apply heat through parchment for 45 to 60 seconds. The film should peel away, often leaving a clean separation.
If the graphic has been cracked or peeling for a while, it may come off in pieces. Use a citrus-based remover for the leftover adhesive.
Removing scratchy care labels from a sensory-sensitive garment
Care labels are usually thin heat transfer labels with light adhesive. They release quickly with heat, often in under 30 seconds. For sensory-sensitive individuals who need the label gone completely, follow up with a quick application of rubbing alcohol to remove all residue.
Wash the garment before wearing.
What About Professional Removal?
Dry cleaners and garment repair shops can remove iron-on patches using commercial heat presses and industrial solvents. This costs roughly $5 to $15 per item depending on the shop and the complexity of the job. It's worth considering for vintage, designer, or sentimental garments where DIY attempts carry too much risk.
Professional removal is the right call when the garment's value exceeds the cost of getting it done safely. If you're dealing with a designer jacket, a vintage piece, or an heirloom item, skip the DIY methods and take it to a professional.
Frequently Asked Questions
Can I use a hair dryer instead of an iron?
A hair dryer can work for small labels, but it delivers less concentrated heat than an iron. You'll need to hold it close to the patch for 2 to 3 minutes. Results are less consistent than with an iron.
It's a decent backup if you don't have an iron available.
Will vinegar remove iron-on adhesive?
White vinegar works on light, fresh adhesive residue. Soak the area for 10 to 15 minutes, then blot and wash. It's not strong enough for cured or heavy adhesive.
Think of it as a mild option for finishing touches, not heavy-duty removal.
How do I remove iron-on patches from a jacket lining?
Lining fabric is often polyester or acetate, both of which are heat-sensitive. Use the freezer method. If that doesn't fully work, try a citrus-based remover tested on a hidden area.
Avoid acetone entirely on lining fabrics.
Is it possible to reuse an iron-on patch after removing it?
Generally no. Once the adhesive has been heated, peeled, and separated from the original bond, it won't reattach reliably. Some patches with fresh adhesive backing can be re-ironed if the original adhesive is still intact, but results are inconsistent.
What if the patch leaves a visible outline after removal?
The outline is often residual adhesive. Apply a citrus-based remover and wash. For stubborn outlines on white fabric, a small amount of rubbing alcohol on a cotton ball can help fade the mark.
Multiple treatments may be needed.
The Bottom Line: Your Decision Guide
Here's the simplest way to decide what to do.
- Sturdy fabric, recent patch: Use the heat method. It's fast and effective.
- Delicate fabric, any patch: Use the freezer method. It's safe and gentle.
- Leftover residue after removal: Use a chemical remover. Citrus-based options work for most situations.
- Valuable or irreplaceable garment: Take it to a professional. The cost is worth the peace of mind.
The most important step is checking your fabric before you start. Thirty seconds of checking can save you from ruining a garment. Start with the gentlest method that matches your fabric, work slowly, and don't force anything.