How to Use Philips Fabric Shaver 2026: Everything You Need
That favorite sweater covered in little fuzz balls? A Philips fabric shaver fixes that in minutes. Learning how to use a Philips fabric shaver the right way means you'll restore clothes without damaging them, and you'll get the most out of the tool's adjustable settings and rechargeable battery.
Philips fabric shavers typically run for 30 to 60 minutes on a single charge and come with two speed settings plus an adjustable height spacer for different fabric thicknesses. As of 2026, the Series 5000, 8000, and 9000 lines are the most widely available. The technique changes depending on what you're shaving, so let's walk through it step by step.
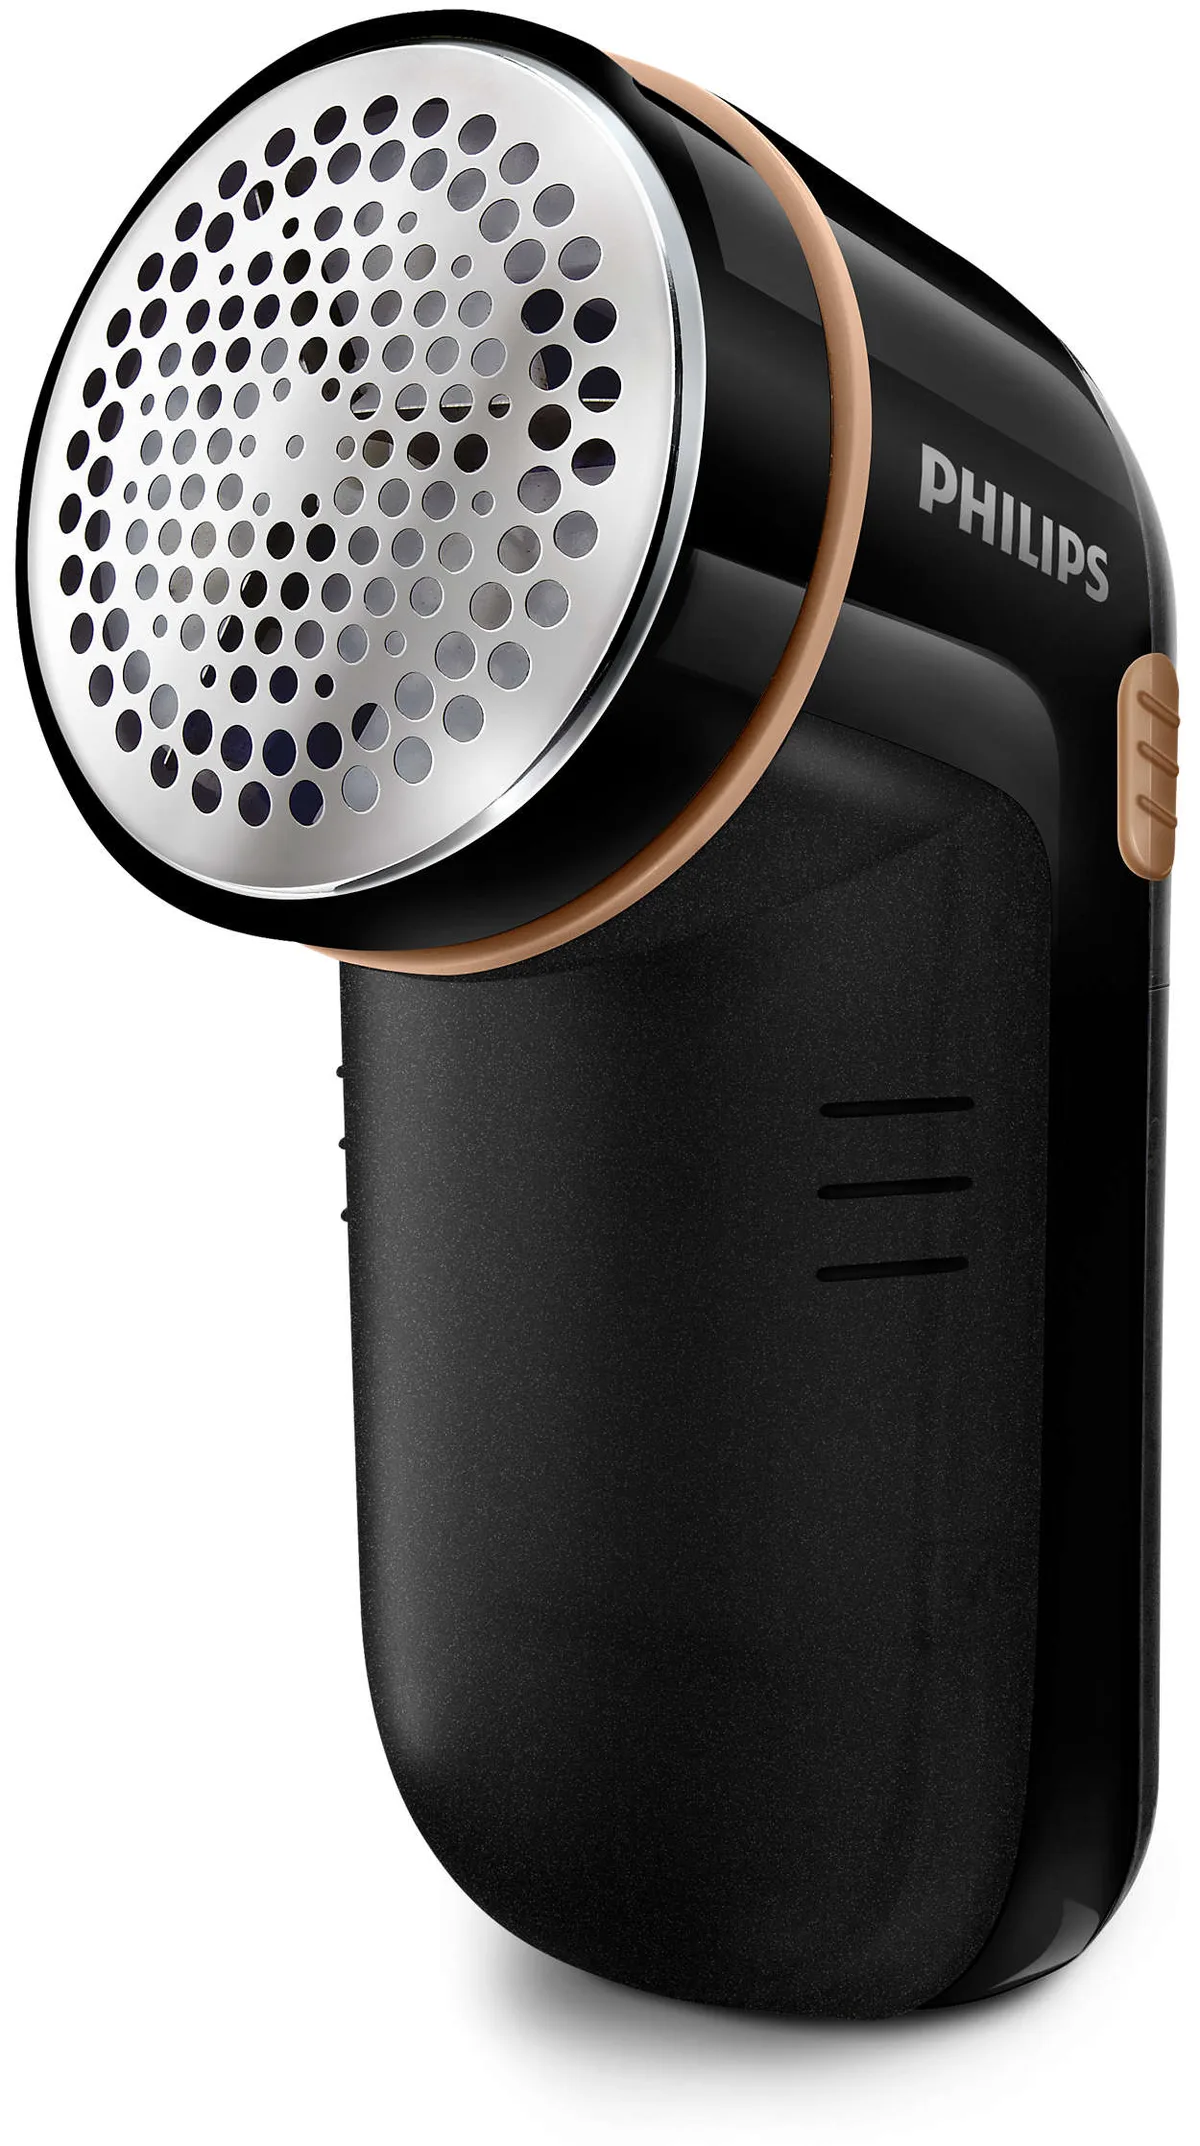
Image source: Bing (Web (fair-use with source credit))
Quick Answer: How to Use a Philips Fabric Shaver in Under 60 Seconds
Stretch the fabric flat on a hard surface. Choose the low speed for delicate fabrics and high speed for heavy knits. Set the height spacer so the blade mesh skims the pills without pressing into the fabric.
Glide the shaver in gentle, overlapping circular motions. Empty the lint container when it looks full. That's the core process.
What a Philips Fabric Shaver Actually Does (And When It Won't Help)
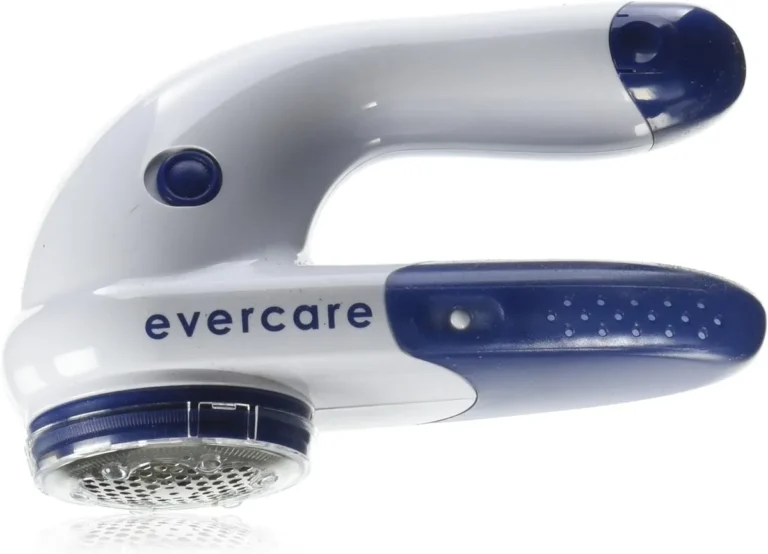
A Philips fabric shaver is an electric depilling tool. It uses a rotating blade beneath a fine metal mesh to trim away the small balls of tangled fiber, called pills, that form on fabric surfaces through normal wear.
Pilling happens when loose fibers on a garment's surface tangle and knot into tiny spheres. It's most common on sweaters, scarves, couch cushions, and anything made from wool, cotton, polyester, or blends. A fabric shaver cuts those pills off cleanly so the surface looks smooth again.
Here's what it won't do. It won't fix stains, shrinkage, snags, or holes. If a garment is pilled because the fabric itself is breaking down, shaving it will just make the thin spots more obvious.
And if pills are caused by a deeper structural problem with the knit, no amount of shaving will make the garment look new.
Knowing the difference between surface pilling and actual fabric damage saves you from accidentally making things worse. If you're unsure whether your item is a good candidate, check our guide on what a fabric shaver is before you start.
How the Philips Fabric Shaver Works: Blades, Mesh, and Speed Settings Explained
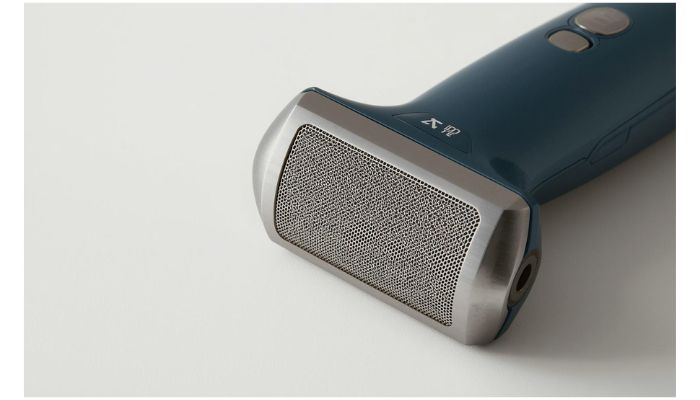
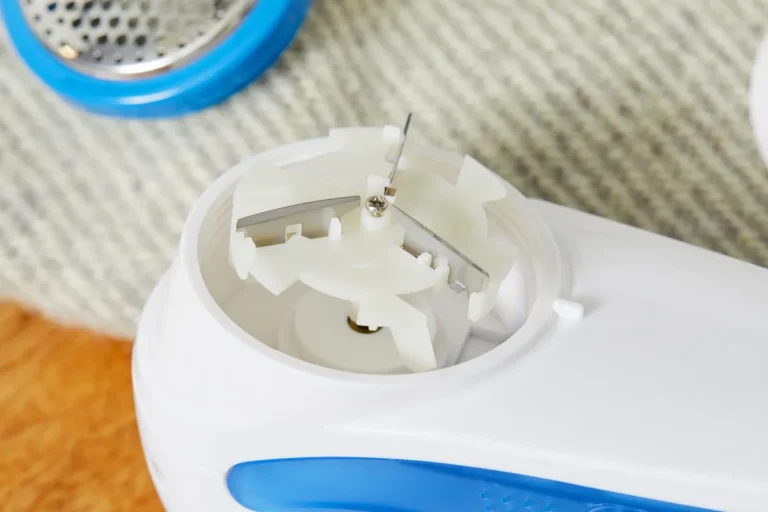
The cutting mechanism is simple. A small motor spins a set of blades at high speed. Those blades sit behind a stainless steel honeycomb mesh screen.
The mesh lets the pills poke through just far enough for the blades to slice them off, while protecting the actual fabric underneath.
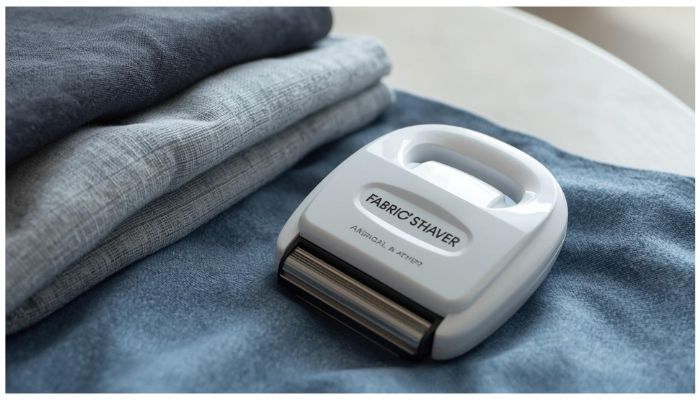
The height spacer is the ring or adjustable collar around the mesh head. It controls how far the blade sits from the fabric surface. A higher spacer means more clearance, which protects delicate fabrics.
A lower spacer lets the blade get closer, which works better for thick, stubborn pills.
Most Philips models offer two speed settings. Low speed gives you more control and less aggressive cutting. High speed covers ground faster and handles dense pilling on heavier fabrics.
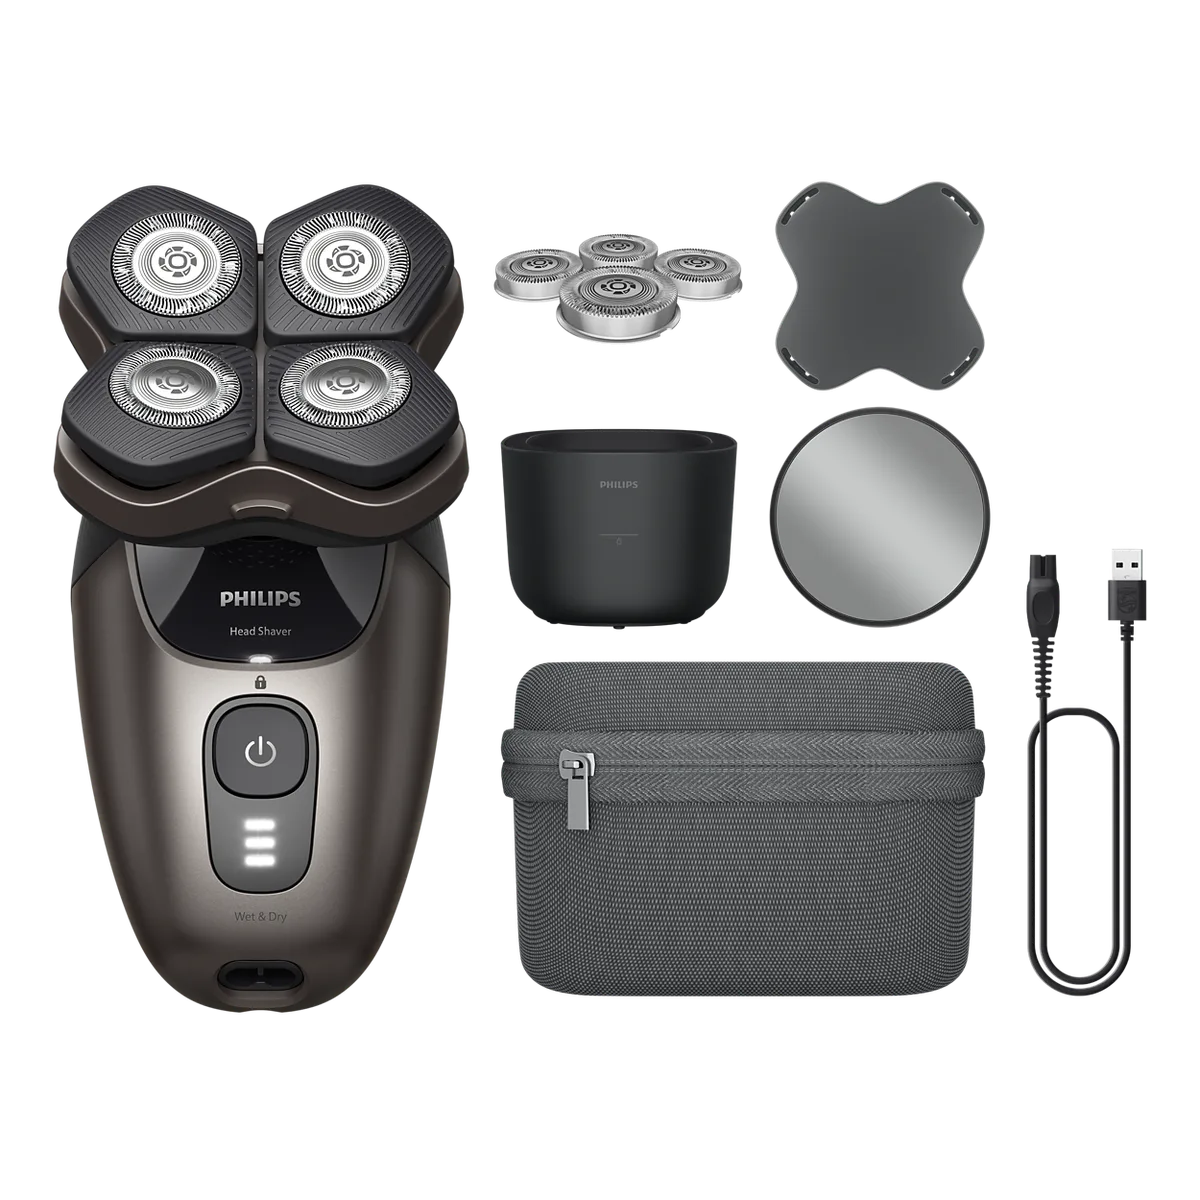
Image source: Bing (Web (Web (fair-use with source credit)))
The lint container sits behind the blade assembly. It catches the trimmed fuzz as you work. If it fills up, suction drops and the shaver becomes less effective.
Philips recommends emptying it regularly during use, especially on heavily pilled items.
Some newer models, like those in the Series 8000 and 9000 lines, come with interchangeable heads. A larger head covers more surface area for big jobs like couch cushions. A standard head gives you precision for smaller areas like collars and cuffs.
What You Need Before You Start: Prep and Fabric Check
Don't just grab the shaver and go. A minute of prep prevents most of the common mistakes.
Check the fabric type. Wool, cotton, acrylic, polyester, and most blends respond well to fabric shavers. Delicate fabrics like silk, chiffon, or very loosely woven knits do not. If you're unsure, test on an inconspicuous area first, like an inside seam or hem.
Inspect the garment. Look for thin spots, holes, or fraying. Shaving over a weak area can turn a small problem into a big one. Also check for buttons, zippers, sequins, or embroidery.
The shaver should go around these, not over them.
Stretch the fabric flat. Lay the item on a smooth, hard surface and pull it taut. Wrinkles and bunches cause uneven shaving and increase the risk of cutting the fabric. For something like a couch cushion, you can hold it firmly with one hand while shaving with the other.
Charge the battery. A dying motor slows the blades, which means less clean cutting and more pulling. Most Philips models take one to two hours for a full charge. The LED indicator tells you when it's ready.
Set your spacer and height. Start with the higher spacer setting. You can always lower it if the shaver isn't catching pills. It's much harder to fix a hole caused by the blade being too close.
If you're dealing with lint rather than pills, that's a different process entirely. Our guide on how to get the fuzz balls off sweaters covers both approaches.
Step-by-Step: How to Shave a Sweater, Couch Cushion, or Scarf Without Damaging It
Here's the full process from start to finish.
Step 1: Lay the garment flat and smooth out wrinkles. Pull the fabric gently in all directions so the surface is even. For a sweater, lay it on a table with the section you're working on facing up.
Step 2: Turn on the shaver and select your speed. Start on low speed. Switch to high only if the pills aren't coming off with light pressure on the low setting.
Step 3: Hold the shaver flat against the fabric. Don't press down. Let the blade mesh rest lightly on the surface. The weight of the tool is enough.
Step 4: Move in slow, overlapping circular motions. Work in small sections, about three to four inches across. Overlap each pass so you don't miss spots. Avoid going back and forth aggressively.
Gentle and steady wins here.
Step 5: Check your progress every 30 seconds or so. Lift the shaver and look at the fabric. If pills remain, go over the area again. If the fabric looks smooth, move on.
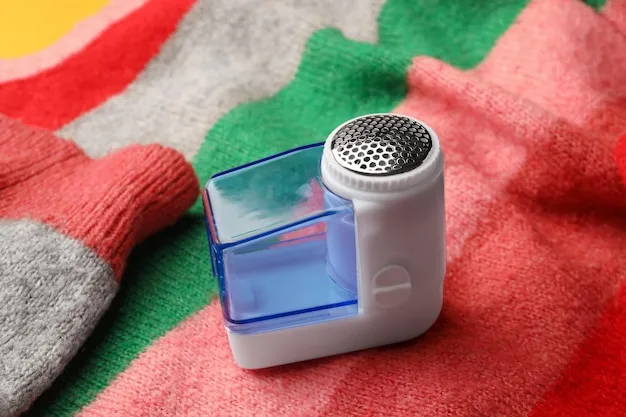
Step 6: Empty the lint container when it gets full. Most Philips containers are transparent so you can see the buildup. A full container reduces performance. Pop it open, dump the fuzz, and snap it back in.
Step 7: Finish by brushing off any loose fibers. A quick pass with your hand or a soft brush removes the tiny trimmings that cling to the surface.
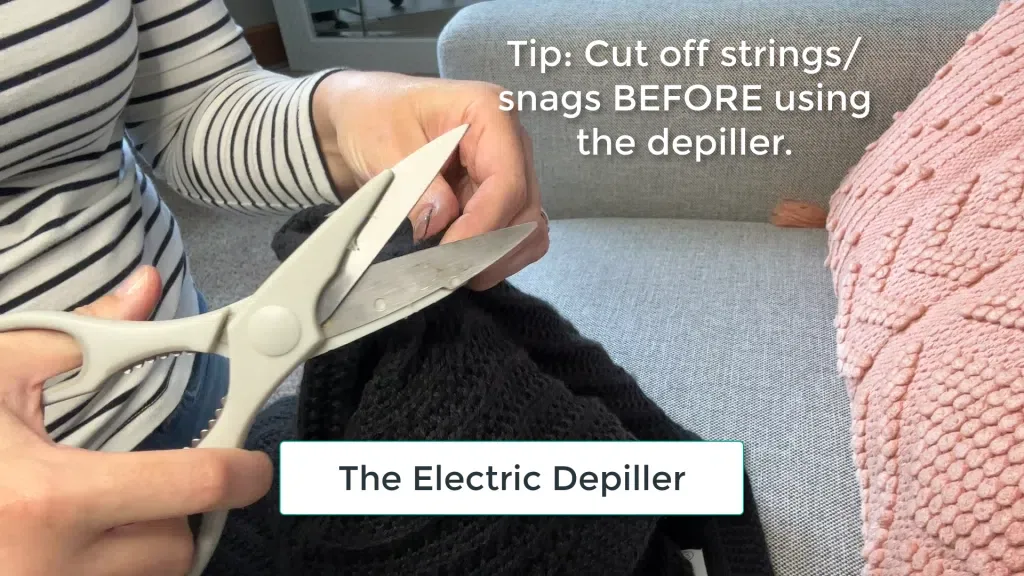
Image source: Bing (Web (fair-use with source credit))
For couch cushions and upholstery, the process is the same but the surface is less stable. Hold the cushion firmly with your non-dominant hand. Work in small sections and don't rush.
If you're curious about whether this works on larger furniture pieces, our article on using a fabric shaver on a couch goes deeper.
For scarves and smaller items, fold the item so the section you're working on is supported underneath. These fabrics are often thinner, so keep the spacer high and the speed low.
For cashmere and other luxury knits, extra caution is warranted. Use the lowest speed and highest spacer. Glide, don't press.
We cover the specifics in our guide on using a fabric shaver on cashmere.
Speed Settings and Height Spacers: Choosing the Right Combination for Your Fabric
Getting the settings right is the single biggest factor in whether you get a clean result or a ruined garment. Here's a quick reference.
| Fabric Type | Speed Setting | Height Spacer | Notes |
|---|---|---|---|
| Cashmere, silk blends, fine knits | Low | Highest position | Test on an inside seam first |
| Wool sweaters, acrylic knits | Low to Medium | Medium position | Most common everyday use |
| Cotton sweatshirts, polyester fleece | High | Medium to Low | Pills tend to be denser |
| Couch cushions, throws | High | Low | Thick fabric needs closer blade |
| Scarves, hats, lightweight items | Low | High | Easy to over-shave thin material |
If the shaver isn't picking up pills, lower the spacer slightly before you increase speed. If the fabric is pulling or snagging, raise the spacer immediately and drop to low speed.
A good rule of thumb: start conservative and adjust upward. You can always take off more. You can't put fabric back.
Fabrics That Work Well (And Ones You Should Never Shave)
Most everyday fabrics handle a Philips fabric shaver just fine. Cotton, wool, acrylic, polyester, and standard blends are the sweet spot. These materials have enough structural integrity that the blade trims pills without catching or pulling the underlying fibers.
Heavy knits like cable-knit sweaters and thick fleece are ideal candidates. The fabric is dense, the pills sit on the surface, and the shaver glides right over them. Upholstery fabric and throw blankets also respond well, especially on high-speed settings.
Delicate fabrics are where things get risky. Silk, chiffon, organza, and loosely woven lace can snag or tear under the blade mesh. If the fabric feels thin enough to see through, skip the shaver entirely.
The same goes for anything with visible fraying or worn spots.
Stretchy fabrics like spandex blends and jersey knits need extra care. The shaver can grab and distort the material if it's not held completely flat. If you're working with something like Lululemon leggings, check our dedicated guide on using a fabric shaver on Lululemon leggings first.
Sequined, beaded, or embroidered items should never go near a fabric shaver. The blade will catch the embellishments and can rip them off or damage the mesh head.
How to Empty the Lint Container and Clean the Blade Head
A full lint container is the number one reason a fabric shaver stops performing mid-session. Philips designs most containers to be transparent so you can see the buildup. When it's about half full, empty it.
Pop the container off the body of the shaver. Dump the fuzz into the trash, not the sink. Lint clogs drains fast.
Snap the container back in and you're good to go.
For the blade head, check your specific model's instructions. Some Philips heads are washable under running water. Others require a dry brush or the small cleaning tool that comes in the box.
If water is safe, rinse the mesh screen gently and let it air dry completely before reassembling.
Never use compressed air on the blade assembly. It can push lint deeper into the mechanism instead of clearing it. A soft-bristled brush or a dry cotton swab works better for clearing trapped fuzz around the blade edges.
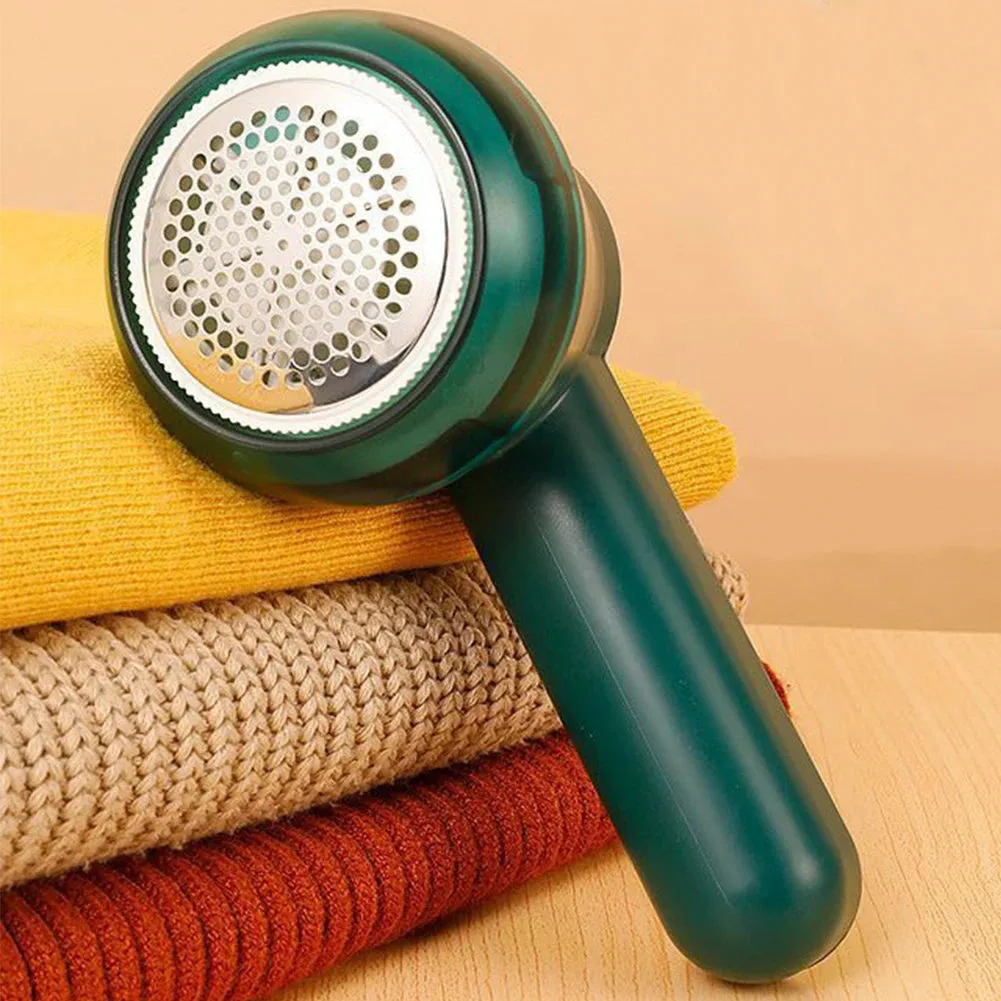
Image source: Bing (Web (fair-use with source credit))
Clean the head after every three to four uses, or whenever you notice the shaver pulling instead of cutting cleanly. A dull or clogged blade tugs at fabric instead of slicing pills off, and that's how accidental damage happens.
Common Mistakes That Ruin Clothes (And How to Avoid Them)
The most common mistake is pressing too hard. The shaver's blade does the work. If you're leaning into the fabric, you're pushing the mesh into the material and risking cuts.
Let the tool rest on the surface and glide.
Going too fast is another one. Rushing across the fabric in long, aggressive strokes leads to uneven results and missed spots. Slow, overlapping circles give you control and consistency.
Shaving over seams, buttons, or zippers is a fast way to damage both the garment and the shaver. The blade can catch on hard edges and skip, leaving gouges in the fabric. Work around these areas by hand or skip them entirely.
Using the wrong spacer setting causes most of the serious damage. A spacer set too low on a thin fabric means the blade sits too close. One pass and you've got a thin spot or a hole.
Always start with the highest spacer and work down only if needed.
Ignoring the lint container matters more than people think. A full container blocks airflow and reduces the suction that pulls pills toward the blade. The shaver still spins, but it stops cutting effectively.
Empty it before every session on heavily pilled items.
Finally, shaving a garment that's too far gone. If the fabric is visibly thin, pilled all the way through, or starting to fall apart, a shaver won't save it. At that point, you're just accelerating the damage.
When the Shaver Isn't Enough: Alternatives for Heavily Pilled or Damaged Garments
Sometimes a Philips fabric shaver can't fix the problem. If pills are deeply embedded in a thick knit, or if the fabric is too delicate for any electric tool, you've got other options.
A manual fabric comb or sweater stone works well for surface pills on delicate items. You physically drag the comb across the fabric to lift and snag the pills. It's slower, but you have total control and zero risk of cutting the fabric.
For light surface fuzz, a disposable lint roller picks up loose fibers. It won't handle real pilling, but it's good for maintenance between shaving sessions. If lint is your main concern rather than pills, our guide on removing lint without a lint roller covers several low-tech methods.
A pumice stone designed for fabric is another manual option. You glide it lightly over the surface and it catches pills without damaging the weave. It works especially well on wool and cashmere.
For garments that are pilled because the fabric itself is deteriorating, no tool will give you a lasting result. The pills will come back quickly because the fibers are still loose. In those cases, it's usually time to retire the item or repurpose it.
If you're dealing with lint on towels or blankets specifically, the cause and solution are different from pilling. Check out our guides on getting rid of lint on blankets and removing lint from towels in the washing machine for those situations.
Philips Fabric Shaver Models Compared: Which One Should You Buy?
Philips makes several fabric shaver models, and the differences matter depending on how you plan to use it.
The Series 5000 is the entry-level option. It typically offers two speed settings, a standard head, and a rechargeable battery. It's fine for occasional use on sweaters and scarves.
Battery life runs around 30 minutes per charge.
The Series 8000 steps up with a larger shaving head and longer battery life, usually around 45 to 60 minutes. Some models in this line include interchangeable heads for different fabric types. It's a solid choice if you're maintaining a lot of garments or tackling upholstery.
The Series 9000 is the premium tier. Expect USB-C charging, the longest battery life, and the most adjustable settings. Some versions have a washable head, which makes maintenance easier.
If you're shaving frequently or working with a mix of delicate and heavy fabrics, this is the one worth the extra cost.
| Feature | Series 5000 | Series 8000 | Series 9000 |
|---|---|---|---|
| Speed settings | 2 | 2 | 2 |
| Interchangeable heads | No | Yes (some models) | Yes |
| Battery life | ~30 min | ~45 to 60 min | ~60 min |
| USB-C charging | No (Micro-USB) | Varies | Yes |
| Washable head | No | Varies | Yes (some models) |
| Price range | $15 to $20 | $20 to $30 | $30 to $40 |
For most people, the Series 8000 hits the sweet spot between features and price. If you only shave a few sweaters a year, the 5000 gets the job done. If you want the best tool and don't mind paying for it, the 9000 is the upgrade.
If you're still deciding whether a fabric shaver is worth it at all, our guide on what a fabric shaver is breaks down the value proposition. And if you're ready to buy, check where to buy a fabric shaver for current availability.
How Often Should You Use It and How to Store It Properly
You don't need to shave every garment after every wear. Once every few weeks during heavy-use season is plenty for most items. Over-shaving thins the fabric over time, even when you're using the right settings.
A good rule is to shave only when you can see or feel pills forming. If the surface still looks smooth, leave it alone. Spot-treating high-friction areas like underarms and cuffs is better than running the shaver over the whole garment each time.
For storage, keep the protective cap on the blade head. This prevents the mesh from getting dented or collecting dust. Store it in a dry place, not a humid bathroom drawer.
Lithium-ion batteries last longer when they're not exposed to extreme heat or cold.
Charge the battery at least once every two to three months if you're not using it regularly. Letting it fully drain between uses shortens its lifespan.
FAQs
Can you use a Philips fabric shaver on a couch?
Yes. A Philips fabric shaver works on most upholstery fabrics. Use the high speed and a lower spacer setting for thick cushion material.
Hold the cushion firmly and work in small sections. Our full guide on using a fabric shaver on a couch covers this in more detail.
How long does the battery last on a Philips fabric shaver?
Most models run 30 to 60 minutes on a full charge, depending on the series and speed setting. The Series 5000 averages around 30 minutes. The Series 9000 can reach up to 60 minutes.
Charge time ranges from one to two hours for newer USB-C models.
Can you use a fabric shaver on cashmere?
Yes, but carefully. Use the lowest speed and highest spacer setting. Glide the shaver lightly without pressing.
Test on an inside seam first. For more detail, see our guide on using a fabric shaver on cashmere.
What is the difference between a lint roller and a fabric shaver?
A lint roller picks up loose surface fibers and pet hair. A fabric shaver cuts off pills, which are tangled knots of fiber embedded in the fabric. They solve different problems.
If lint is your main issue, check out how to remove lint from black clothes for targeted solutions.
When should you throw away a fabric shaver?
Replace the shaver when the blade no longer cuts cleanly after cleaning, or when the battery won't hold a charge. Most units last two to four years with regular use. If the mesh head is dented or damaged, replace the head or the entire unit.
Is a fabric shaver worth it?
For anyone who owns knitwear, maintains upholstery, or buys secondhand clothing, a fabric shaver pays for itself quickly. It extends the life of garments and costs between $15 and $40. That's less than a single dry cleaning bill.